Start dehydrating your snacks for a change and discover these Food Dehydrator Recipes that you can easily make at home. Using a dehydrator is great for making homemade chips, jerky for backpacking, and dehydrated fruit snacks. Learn how to dehydrate vegetables and other dried food in your pantry to preserve their taste and flavor.
I love dehydrating food in my dehydrator because I can preserve my fruits and veggies for a longer time and snack on them whenever I want. Once I dry any food in my dehydrator, it becomes my long-time snack, and I store it in my pantry for as long as I like. This is also my way of making my daughters eat vegetables because they like them better when dried.

Easy Food Dehydrator Recipes
Let me share with you some of the dehydrator recipes that I keep making for myself and my family. I used to make large batches of dried fruits and veggies, but since fewer people are in the house, I started cooking and eating in small batches. I now only make one to two servings of dried snacks.
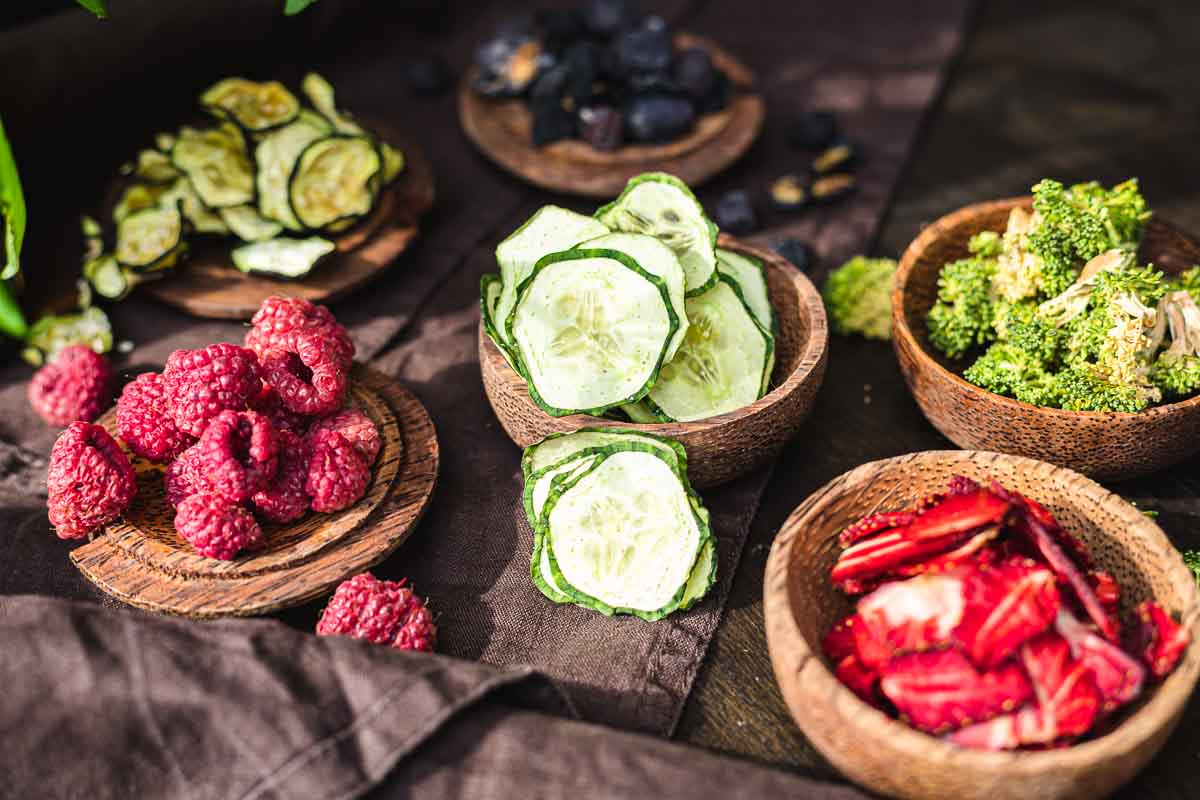
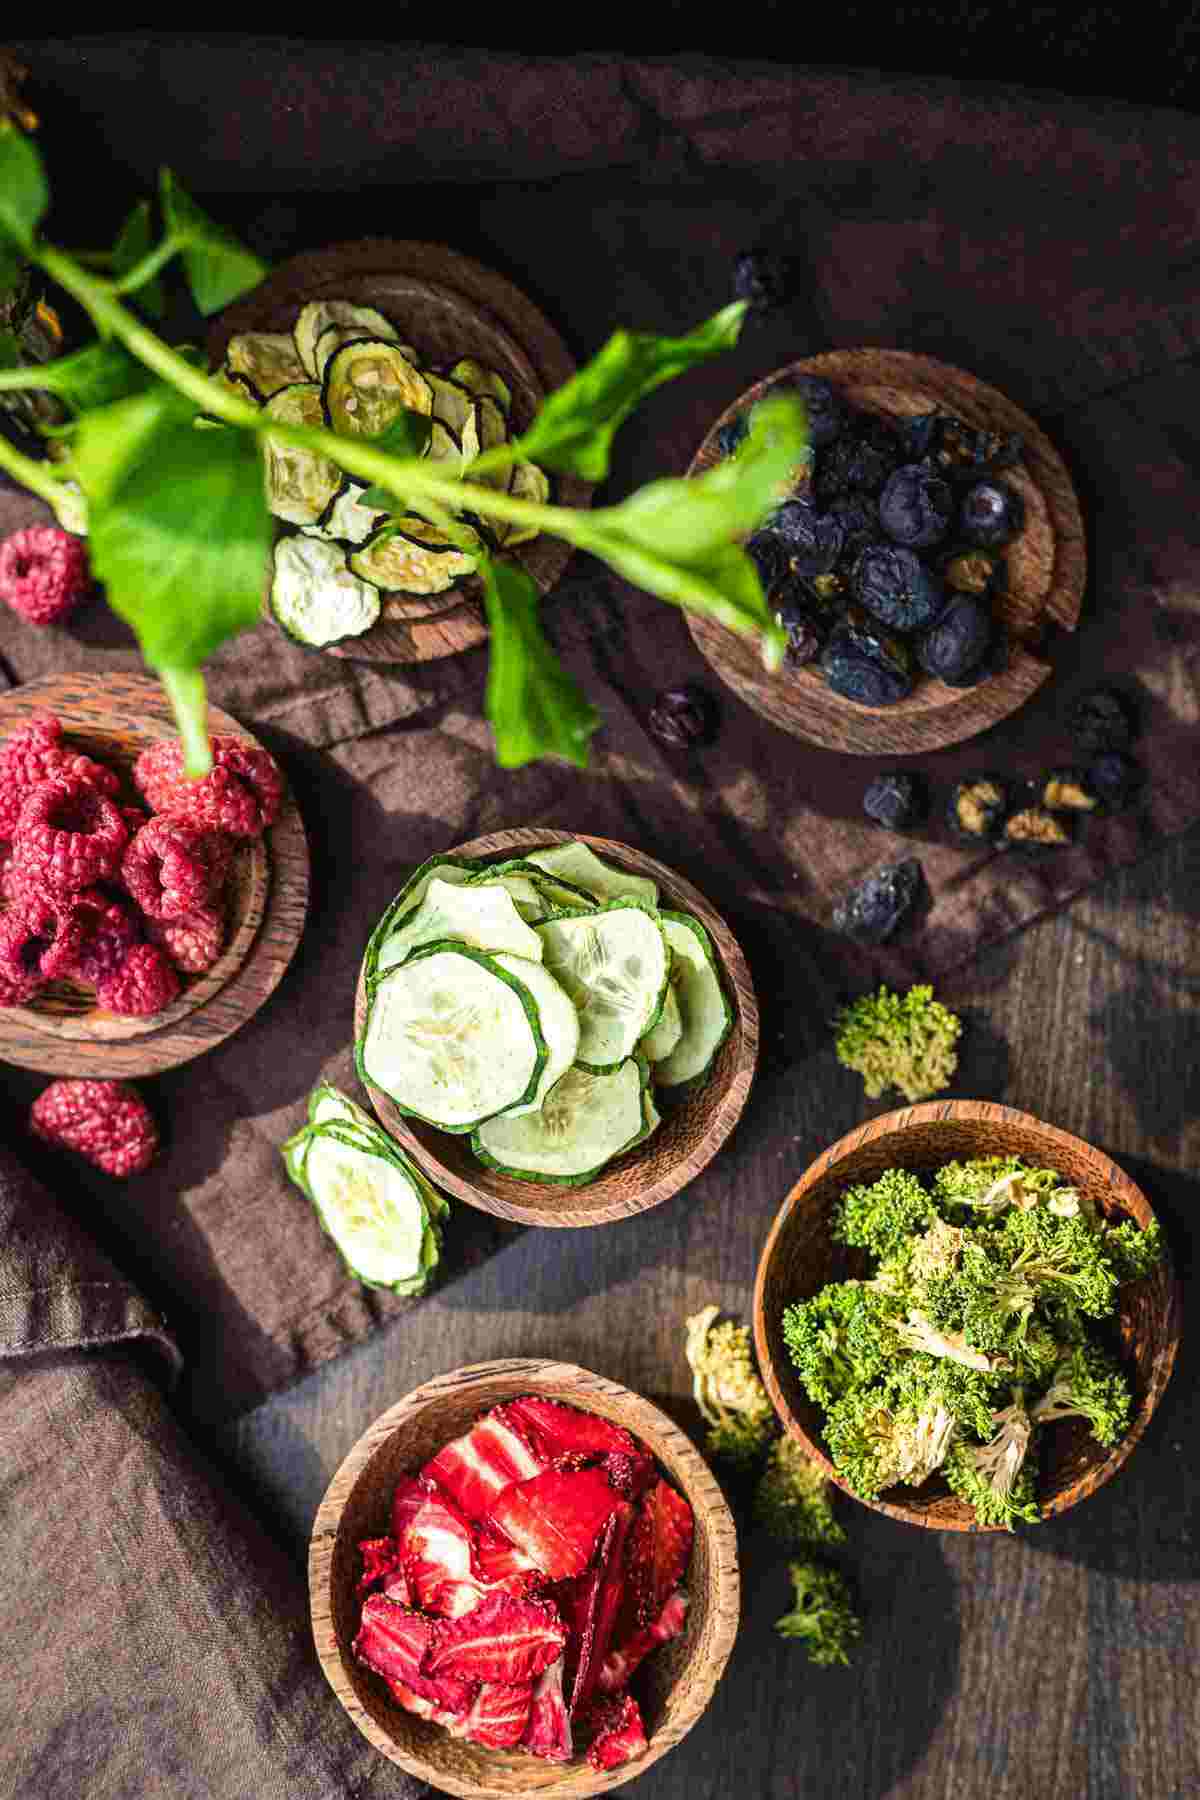
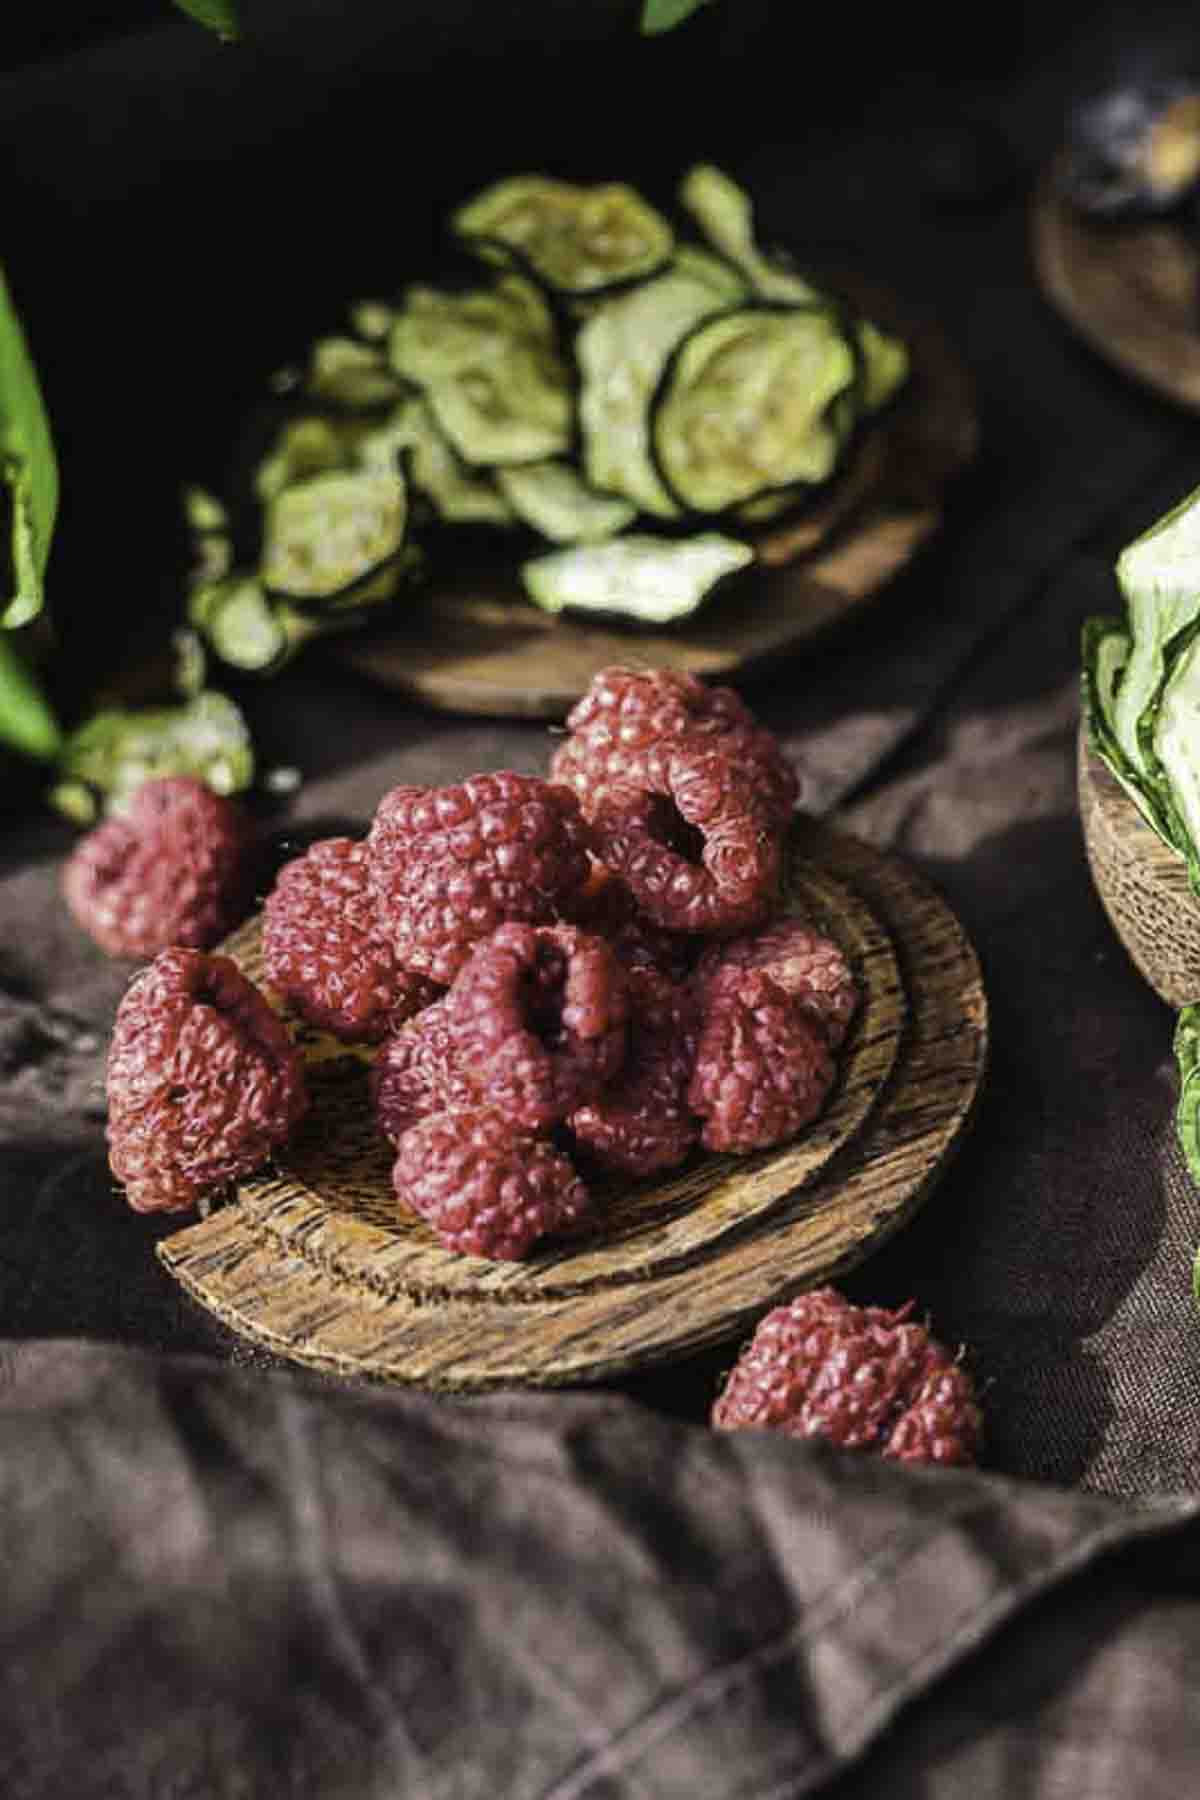
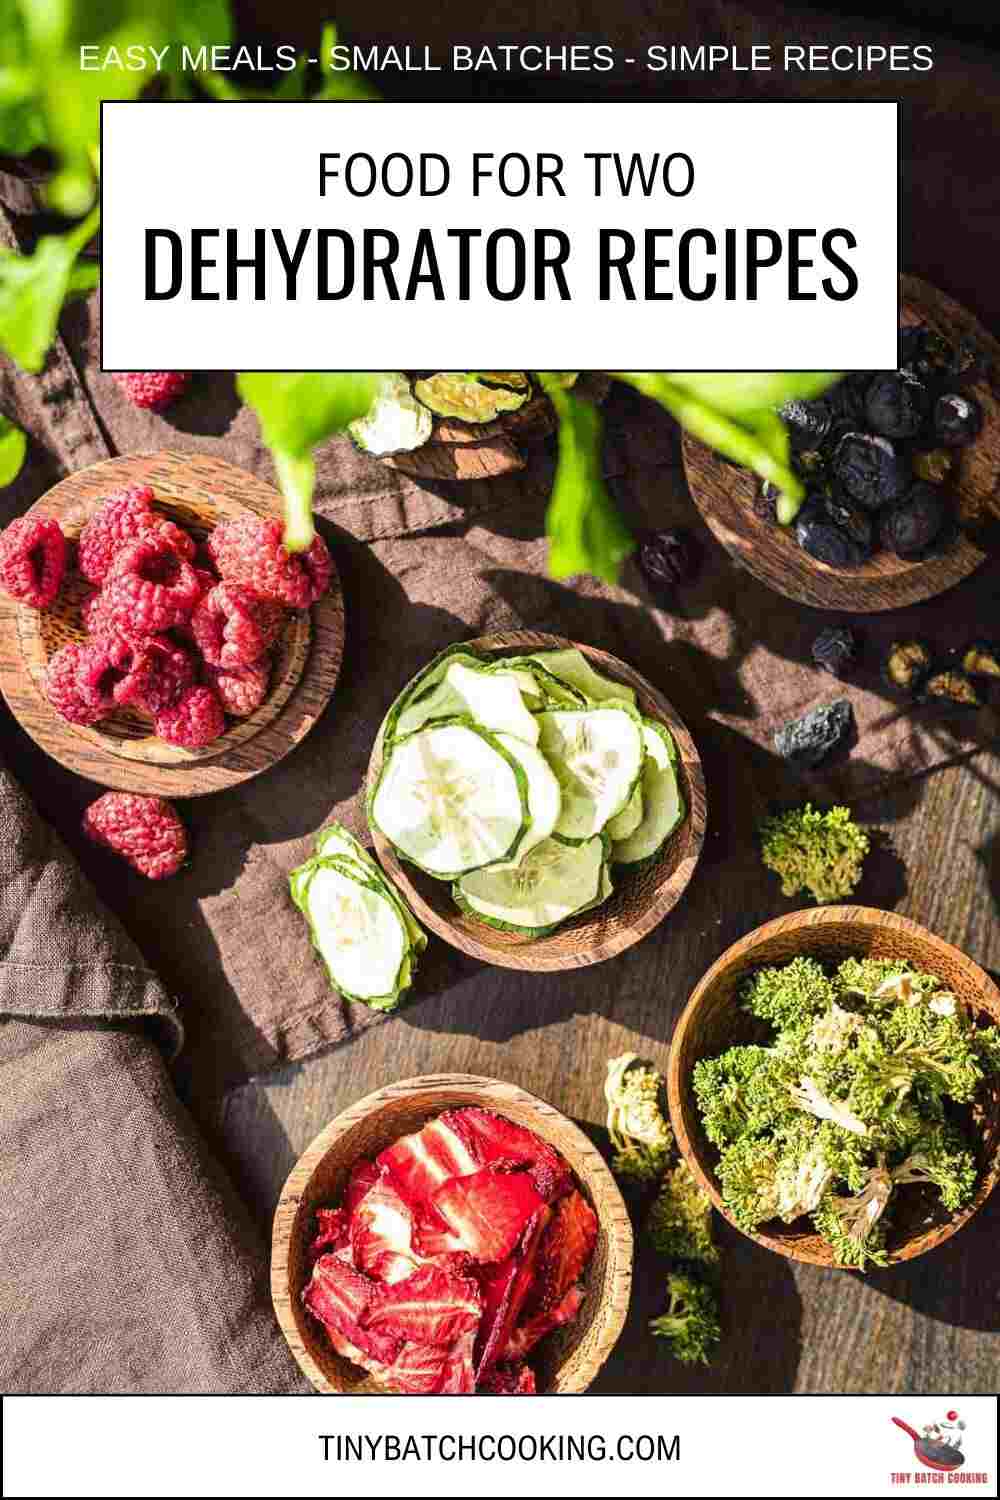
I have dried raspberries, which are sweet and my daughters’ favorite, dried strawberries, which I like topping cakes and cupcakes, and dried blueberries, which are perfect for adding to breakfast yogurt or granola. These are my go-to dried berries, and they are always in my kitchen.
Preserving Food Using the Dehydrator
If you haven’t tried drying fresh food in the dehydrator, you need to know that doing it is a great option for preserving any food without needing to freeze or can it. What happens when you dehydrate any food is it takes the water out so the food lasts much longer and stays safe to eat for months without refrigeration. Plus, the dehydrator uses low heat to gently dry the food, keeping its flavor and nutrients intact.
Dried Chips You Can Make In the Dehydrator
If you have no idea what you can dry for a snack, let me give you some ideas. Here are a few easy foods you can try:
Watermelon Jerky
This is such a fun twist on jerky because it is sweet, chewy, and tastes like a healthy candy. All you need is watermelon, slice it up, and let the dehydrator do the thing. I have tried it once and I will do it again.
Banana Chips
Banana chips are a classic dehydrator snack. They are crispy and sweet which is why they make a great addition to trail mix or just on their own. Aside from banana chips, you can also make carrot chips and dried squash as they are also sweet and delicious.
Strawberry Fruit Leather
If you love having fruit roll-ups from stores, I am sure you will love this even more. Just think of this as a homemade version of the fruit roll-ups you had as a kid. It is all-natural and way better for you, plus you can control the sweetness.
Dried Mango Slices
Mango slices in the dehydrator turn into a chewy, tangy treat that is super addictive. This is also one of my favorites and this is perfect for snacking or packing into lunches.
Easy Instructions for Creating Homemade Food Dehydrator Recipes
Making your own dehydrated foods is a lot easier than you might think as long as you have your own dehydrator at home. Here is where we will do the whole process with a simple step-by-step guide to help you get started.
Must-Have Tools for Your Kitchen:
- Knife: A sharp knife is important for slicing your fruits and veggies evenly.
- Food Dehydrator: Look for one with adjustable temperature settings and multiple trays so you can dry different foods at once.
Key Ingredients:
- Fruits and Vegetables: Choose any fruit and vegetables you like to dehydrate like strawberries, blueberries, raspberries, cucumbers, and broccoli. Anything will do.
*Exact measurements are listed in the recipe card below.
Detailed Directions for Making Dehydrated Foods
One: Ingredients Preparation
Prepare all the ingredients you need for dehydrating and ready your dehydrator for the dehydrating process.
Make sure to wash and clean your ingredients first before anything to make sure there is no more dirt left especially on vegetables like broccoli.

Two: Slice Vegetables
Slice everything as evenly as possible. Thicker slices will take longer to dry, while thinner ones will become crispier. For the veggies, I cut them thinly and for my berries, either I cut them in half or cut them thinly depending on their size.

Three: Assemble On Dehydrator Trays
Start arranging the dehydrator by brushing a little olive oil on the dehydrator trays to prevent sticking. After spreading the oil, start adding the sliced ingredients until they all fit. Since we are making small batches, I do one tray for each fruit and veggie.
Keep in mind that it is important not to overcrowd the trays so the air can circulate and they all dry evenly.
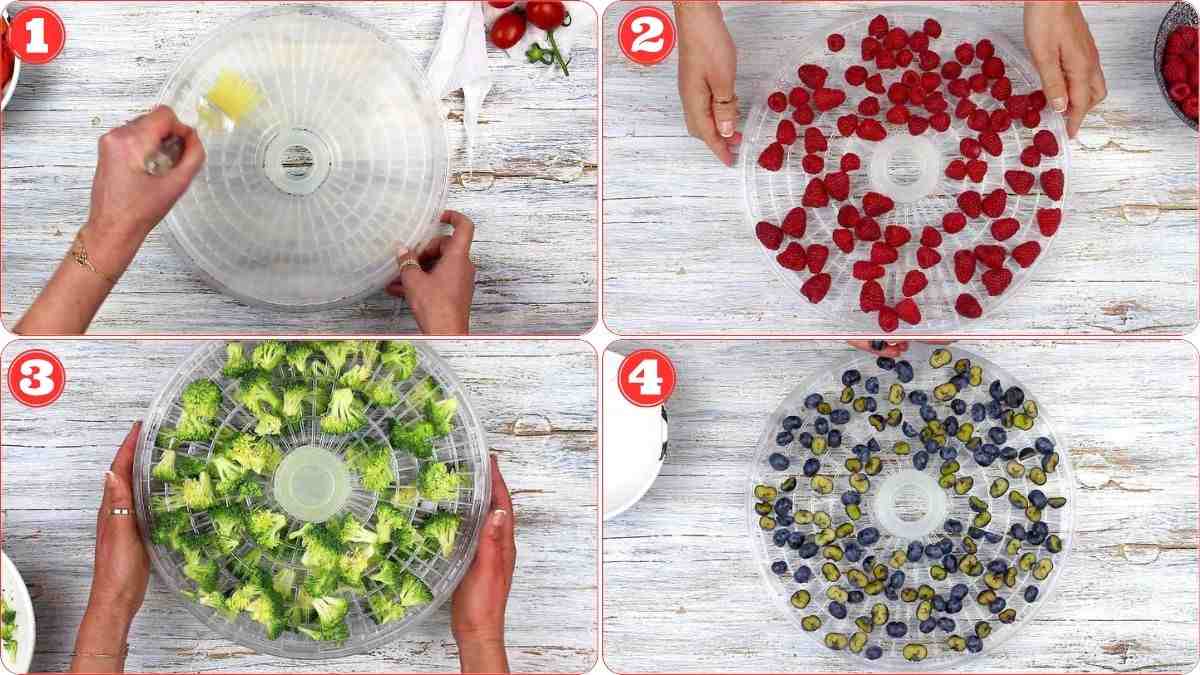
Four: Dehydrate
Set the dehydrator to the recommended temperature for your chosen food, and let it run for several hours until the food reaches your desired dryness.

Pro Tips for Best Results
- Adding olive oil to the dehydrator trays will help prevent sticking during the drying process.
- Rotate the trays halfway through the process for consistent results and the best texture of the final product.
- Do not rush the drying process because slow and steady gives the best texture.
- You can sprinkle some spice or salt and pepper onto your sliced snacks before dehydrating them for an additional flavor once they are dried.
Common Questions Answered
Is Making Jerky in The Dehydrator Advisable for Backpacking?
Yes, absolutely. Homemade jerky is really a good option for backpacking because it is lightweight and easy to pack. It is also high in protein and can fit in your bag without using too much space. It is very convenient especially if one of your family member would go camping or on long hikes. This is the best snack choice.
And since you are making it at home, you can control the flavor and ingredients that is why it is healthier and better than store-bought ones.

What Are the Perfect Pairings for Food Dehydrator Snacks?
You have lots of tasty choices when pairing dehydrated snacks. For example, dried fruits like blueberries, apples, or strawberries are great with yogurt or granola for a light snack or breakfast. If you prefer salty snacks, veggie chips made from sweet potatoes, cucumber, or zucchini taste really good when dipped in hummus or guacamole. Add these dehydrator snacks to your pantry essentials, together with the ranch dressing spice mix.
What Are the Proper Storage Tips for Dehydrated Foods?
To store your dehydrated foods, simply keep them in airtight containers, like mason jars or zip lock bags, to keep out moisture. Make sure to also store them in a cool, dark place, away from direct sunlight or heat, as these can shorten their shelf life.
Freezing dehydrated foods is not really necessary since they are already preserved but if you want to extend their shelf life even more, you can do it. What you can do is just place the dried foods in an airtight bag or container to prevent freezer burn.
More Small Batch Recipes You’ll Love
Come and check out more of our small batch snacks you can make at home for sudden cravings and quick snack time with family.
Aside from our dehydrator recipes, we also have some other snacks like crispy fried onions that you can also top onto your green bean mushroom casserole. Our almond flour pretzels are also great for pairing with anything either with nuts trail mix, savory pork fillet or nuggets coated with breading mix.
Pin This Recipe for Later
Need Support or have Questions? Join our Free Facebook Group.
Follow us on Pinterest, Facebook, Instagram, TikTok, Flipboard, or YouTube.
For weekly New Recipes and a FREE E-Book get into our NEWSLETTER.
Printable Recipe Card
We Appreciate Your 5-Star Rating

Food Dehydrator Recipes
Equipment
- 1 Knife
Ingredients
- 1 Cup Fruits
- 1 Cup Vegetables
Instructions
- Prepare all the ingredients you need for dehydrating and ready your dehydrator for the dehydrating process. Make sure to wash and clean your ingredients first before anything to make sure there is no more dirt left especially on vegetables like broccoli.
- Slice everything as evenly as possible. Thicker slices will take longer to dry, while thinner ones will become crispier. For the veggies, I cut them thinly and for my berries, either I cut them in half or cut them thinly depending on their size.
- Start arranging the dehydrator by brushing a little olive oil on the dehydrator trays to prevent sticking. After spreading the oil, start adding the sliced ingredients until they all fit. Since we are making small batches, I do one tray for each fruit and veggie. Keep in mind that it is important not to overcrowd the trays so the air can circulate and they all dry evenly.
- Set the dehydrator to the recommended temperature for your chosen food, and let it run for several hours until the food reaches your desired dryness.
Notes
- Adding olive oil to the dehydrator trays will help prevent sticking during the drying process.
- Rotate the trays halfway through the process for consistent results and the best texture of the final product.
- Do not rush the drying process because slow and steady gives the best texture.
- You can sprinkle some spice or salt and pepper onto your sliced snacks before dehydrating them for an additional flavor once they are dried.
Nutrition
Disclaimer
Please note that nutrient values are estimates only. Variations can occur due to product availability and manner of food preparation. Nutrition may vary based on methods of origin, preparation, freshness of ingredients, and other factors.