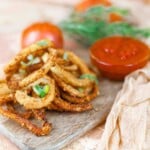
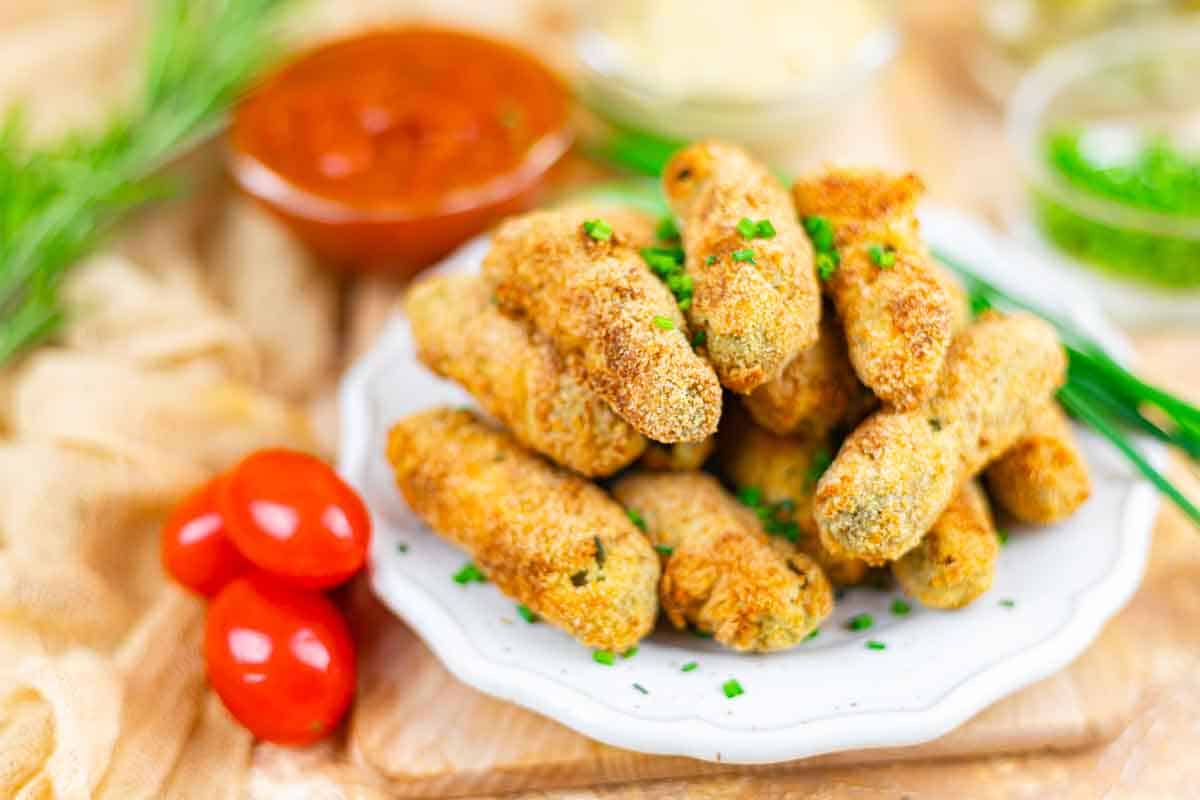
Craving that fried pickle crunch without the deep fryer? These Oven Fried Pickles are the answer. Crispy, golden brown, and loaded with tangy dill flavor. Baked instead of deep fried, they’re lighter but still deliver that irresistible bite thanks to a crunchy, breaded coating.
Oven fried pickles recipe is perfect as an easy appetizer or snack, especially when served with a side of ranch dressing or your favorite dipping sauce.

It all started when I was trying to recreate a fair-food vibe at home but didn’t want to fuss with hot oil. Oven-fried pickles were crisping up in my tiny countertop oven. One bite and I was hooked, it was like my kitchen turned into a no-line food festival just for me.
Use Oven Instead of Air Fryer
No air fryer? No problem. The oven gets the job done with just a bit of oil and a hot baking tray, giving you golden pickles without needing extra appliances, perfect for small kitchens.

Serve Fried Pickles on All Occasions
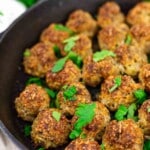
Fried pickles bring the party, whether it’s movie night, a solo snack craving, or a weekend hangout. Their bold flavor and easy prep make them a go-to favorite, together with baked meatballs and baked chicken nuggets that fit right into any moment.
Best Type of Pickle to Use
Dill pickles are the classic choice, tangy and firm enough to hold up under heat. Look for thick-cut rounds or spears for the best texture. Avoid sweet pickles unless you want a surprising twist in every bite.
Easy Instructions for Creating Oven Fried Pickles Recipe
Oven-fried pickles are crispy, golden, and full of bold pickle flavor without the deep-frying mess. They make a fun and tasty appetizer or snack for any occasion.

Must-Have Tools for Your Kitchen
- Bowls: Great for setting up your breading station, separate ones for flour, eggs, and crispy coating.
- Parchment Paper: Keeps pickles from sticking to the tray and makes cleanup a breeze.
- Baking Tray: Supports your pickles as they bake evenly and turn golden.
- Oven: Delivers crispy, crunchy results without the mess of frying.
Key Ingredients:
- Mini Pickles: Crunchy and tangy, they’re the star of this bite-sized snack.
- Coconut Flour: An alternative to traditional flour that helps the coating stick.
- Egg: Acts as a binder to hold the breading on the pickles.
- Breading: Adds the crispy, golden texture that makes these oven-fried pickles irresistible.
*Exact measurements are listed in the recipe card below.
Detailed Directions for Making Fried Pickles in the Oven
One: Get Set to Cook
Preheat your oven to 400°Fahrenheit (200°Celsius) and line a baking sheet with parchment paper. Drain the pickles well and pat them dry to avoid soggy results. Arrange your ingredients: coconut flour, eggs, and breading mix, for an easy workflow.

Two: Dust with Coconut Flour
Lightly coat each pickle slice in coconut flour, shaking off any excess. This dry layer gives the egg something to cling to and sets the stage for extra crunch. Be sure each slice is evenly covered for consistent results.

Three: Dip in Egg Wash
Crack the eggs into a small bowl and whisk them until smooth. Dip each flour-coated pickle into the egg mixture, turning to coat both sides. Let any extra drip off before moving on to the final coating.

Four: Finish with Breading
Place the egg-coated pickle slices into your seasoned breading mix and press lightly so the coating sticks. Flip and repeat for full coverage. This layer gives you that golden, crispy texture after baking.

Five: Bake and Enjoy
Lay the breaded pickles in a single layer on your prepared baking sheet. Bake for 10 minutes, flip, and bake for another 5 minutes until crispy and golden. Serve warm with ranch, spicy mayo, or your go-to dip.

Pro Tips for Best Results
- Pat the Pickles Dry First: Excess moisture makes the coating soggy, so blot each slice well with paper towels. Dry pickles help the breading stick better and crisp up nicely in the oven.
- Preheat Your Baking Sheet: Place the baking sheet in the oven while it preheats. This gives the bottom of the pickles an instant sizzle and adds extra crunch.
- Use a Wire Rack for Even Crispiness: Placing pickles on a rack lets the hot air circulate around them. No flipping needed, and both sides come out golden.
- Spray with Oil for That Fried Finish: A light spray of olive oil or avocado oil gives the coating a satisfying crunch. Don’t drench, just mist for that perfect crispy bite.
Common Questions Answered
What Are the Perfect Pairings for Crispy Fried Pickles?
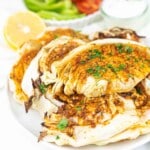
Crispy fried pickles are perfect with creamy dips like ranch, spicy mayo, or even a tangy BBQ sauce. They also go great alongside sheetpan salmon with veggies, grilled chicken, or beetroot soup. For small-batch meals, they make an irresistible appetizer or crunchy side for vegetable soup without too much fuss.
Let fried pickles cool completely before storing to avoid sogginess. Place them in an airtight container lined with paper towels to soak up moisture, then refrigerate for up to 2 days.

How Do I Freeze Oven-Fried Pickles?
Lay your fried pickles in a single layer on a baking sheet and freeze until solid. Transfer to a freezer-safe bag, removing as much air as possible. When you’re ready to enjoy, reheat straight from frozen in the oven or air fryer for best results.
Additional Small-Portion Recipes You’ll Love
Looking for more cozy, small-batch inspiration? Try making your own apricot jam without sugar, it’s naturally sweet, spreads like a dream, and perfect for toast or yogurt. Warm up with a cup of hot chocolate powder mix, easy to whip up and store for chilly days.
If you’re in the mood for something hearty, the Instant Pot beef stew is a comforting meal that doesn’t leave you with piles of leftovers. Each of these recipes is quick, simple, and just right for one or two servings.
Pin This Recipe for Later

Need Support or have Questions? Join our Free Facebook Group.
Follow us on Pinterest, Facebook, Instagram, TikTok, Flipboard, or YouTube.
For weekly New Recipes and a FREE E-Book get into our NEWSLETTER.
Printable Recipe Card
We Appreciate Your 5-Star Rating

Oven Fried Pickles
Equipment
- 1 Bowls
- 1 Oven
Ingredients
- 8 Pieces Mini Pickles whole
- 1/4 Cup Coconut Flour
- 1/2 Egg beat and use half
- 1/2 Cup Breading
Video
Instructions
- Preheat your oven to 400°Fahrenheit (200°Celsius) and line a baking sheet with parchment paper. Drain the pickle slices well and pat them dry, then set out the coconut flour, eggs, and breading for easy coating.
- Lightly coat each pickle slice in coconut flour, shaking off any excess. This helps the egg stick and creates a crisp base layer.
- Whisk the eggs until smooth, then dip each floured pickle slice into the egg, coating both sides. Let any excess drip off before breading.
- Press the egg-coated pickles into the seasoned breading until fully covered. This final layer is what gives them a golden, crunchy texture.
- Arrange the pickles in a single layer on the baking sheet and bake for 10 minutes, flip, then bake 5 more minutes until crisp and golden. Serve warm with ranch, spicy mayo, or your favorite dip.
Notes
- Pat the Pickles Dry First: Excess moisture makes the coating soggy, so blot each slice well with paper towels. Dry pickles help the breading stick better and crisp up nicely in the oven.
- Preheat Your Baking Sheet: Place the baking sheet in the oven while it preheats. This gives the bottom of the pickles an instant sizzle and adds extra crunch.
- Use a Wire Rack for Even Crispiness: Placing pickles on a rack lets the hot air circulate around them. No flipping needed, and both sides come out golden.
- Spray with Oil for That Fried Finish: A light spray of olive oil or avocado oil gives the coating a satisfying crunch. Don’t drench, just mist for that perfect crispy bite.
Nutrition
Disclaimer
Please note that nutrient values are estimates only. Variations can occur due to product availability and manner of food preparation. Nutrition may vary based on methods of origin, preparation, freshness of ingredients, and other factors.
simple snacks you can make
Check out more snacks you can make when you want something easy and satisfying. These simple ideas are perfect for quick bites, casual grazing, or sharing anytime.